views
Pressed powder is a staple in many makeup kits for a reason—it helps set foundation, control shine, blur imperfections, and provide a polished look that lasts all day. But getting that flawless, airbrushed finish isn’t just about swiping some powder on your face. It’s about knowing the right techniques, tools, and tips that make the product work its magic. Whether you're a beginner or a beauty enthusiast, here's your go-to guide on how to apply pressed powder for a flawless finish.
What is Pressed Powder?
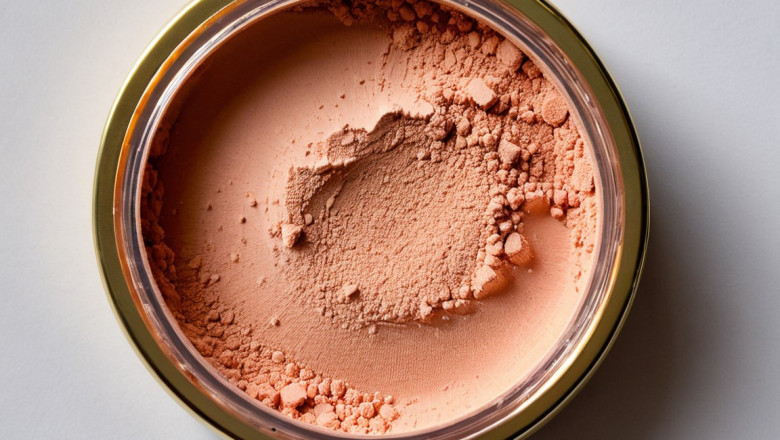
Pressed powder is a finely milled powder that’s compacted into a pan. Unlike loose powder, it’s less messy and easier to travel with, making it a favorite for touch-ups throughout the day. It can be tinted to add coverage or translucent to simply set your makeup in place.
Why Use Pressed Powder?
Pressed powder serves multiple purposes:
-
Sets foundation and concealer to prevent creasing or smudging.
-
Controls oil and shine, especially in the T-zone.
-
Evens out skin tone and texture for a smoother appearance.
-
Adds light coverage when used alone on bare skin.
The key to unlocking these benefits is all in the application.
Step-by-Step: How to Apply Pressed Powder Flawlessly
1. Prep Your Skin Properly
Before applying any makeup, start with a clean, moisturized face. Apply primer suited for your skin type. Primer helps smooth out pores and gives your makeup a longer-lasting base.
2. Apply Foundation First (If Using One)
Pressed powder can be used alone or on top of foundation. If you’re using liquid or cream foundation, apply it first and let it set for a minute or two before moving on to powder. This prevents caking and helps the powder blend seamlessly.
3. Choose the Right Tool
-
For full coverage, use a dense powder brush or a flat sponge.
-
For light setting, a fluffy powder brush will give a more natural finish.
-
For targeted touch-ups, a puff or small brush works well.
Each tool serves a different purpose, so choose one based on your desired finish.
4. Apply with a Pressing Motion, Not Swiping
Instead of brushing powder all over your face in swiping motions, press or pat it into the skin. This method locks your foundation in place and gives a smoother finish, especially on areas prone to creasing like under the eyes and around the nose.
5. Focus on Oil-Prone Areas
If you have combination or oily skin, concentrate the powder application on your T-zone—forehead, nose, and chin. These areas are more likely to become shiny throughout the day.
6. Don’t Overdo It
Using too much pressed powder can make your makeup look cakey or dry. Start with a small amount and build up only where necessary. Less is more for a natural, flawless look.
7. Blend and Buff
After applying, gently buff your skin with a clean powder brush to blend any excess product and ensure a seamless finish. This step helps avoid any patchiness or visible lines.
Bonus Tips for a Perfect Finish
-
Use a translucent powder if you’re happy with your foundation’s coverage and just want to set it without altering the color.
-
Blot before reapplying throughout the day to avoid layering oil and powder.
-
Hydrate dry areas with a light mist if powder clings to texture or flakes.
Final Thoughts
Pressed powder is an unsung hero in your makeup routine, offering both function and finesse. When applied correctly, it not only extends the wear of your makeup but enhances the overall look of your skin. With the right prep, tools, and techniques, you can achieve that smooth, matte, and picture-perfect finish every time. So go ahead—press on and glow up!


Comments
0 comment