
Best Ways to Line Baking Pans Using Parchment Paper
Baking is a delightful experience that brings together the joy of creating delicious treats. However, ensuring that your baked goods come out of the pan easily can sometimes be a challenge. One of the best solutions is to line your baking pans with parchment paper. This not only prevents sticking but also makes cleanup a breeze. In this guide, we will explore the best ways to line baking pans using parchment paper, providing you with step-by-step instructions and helpful tips.
What is Parchment Paper?
Parchment paper is a non-stick, heat-resistant paper that is perfect for baking. It is treated with an acid during processing, which gives it its non-stick properties. Parchment paper can withstand high temperatures, making it ideal for various baking tasks, from cookies to cakes. It is also a great alternative to greasing pans, as it helps reduce the amount of fat used in recipes.
Types of Parchment Paper
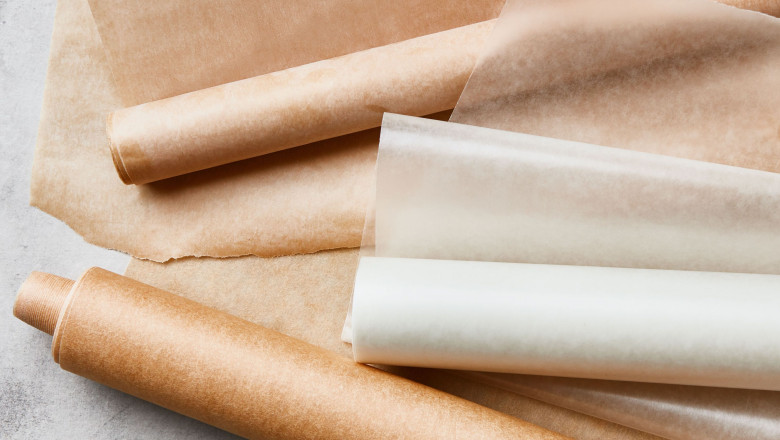
When choosing parchment paper, you may come across two main types: bleached and unbleached.
-
Bleached Parchment Paper: This type is white and has been treated with chemicals to achieve its color. It is suitable for most baking needs, especially for lighter-colored baked goods.
-
Unbleached Parchment Paper: This version is brown and is minimally processed. It is a great choice for those who prefer a more natural product and is often used for baking darker items.
Both types of parchment paper serve the same purpose, so the choice depends on personal preference.
Why Use Parchment Paper?
Using parchment paper has several advantages:
-
Prevents Sticking: It creates a barrier between the batter and the pan, preventing sticking and ensuring easy removal of baked goods.
-
Easy Cleanup: After baking, you can simply lift the paper out of the pan, making cleanup much simpler.
-
Even Baking: Parchment paper can promote even heat distribution, which can lead to better baking results.
-
Less Grease: Using parchment often means you can reduce or eliminate the need for greasing the pan, making your baked goods a bit healthier.
How to Line Baking Pans with Parchment Paper
1. Round Cake Pans
Lining a round cake pan with parchment paper is quite straightforward:
-
Step 1: Gather your materials. You will need parchment paper, scissors, and a round cake pan.
-
Step 2: Place the pan on a flat surface. Use a pencil to trace around the bottom of the pan on the parchment paper.
-
Step 3: Cut out the circle. This will be the base liner for your cake.
-
Step 4: For the sides of the pan, cut strips of parchment paper. The strips should be about 2-3 inches taller than the sides of the pan.
-
Step 5: Use a bit of cooking spray or butter to lightly grease the bottom of the pan. This will help the circle of parchment stick in place.
-
Step 6: Place the circle of parchment in the bottom of the pan, followed by the strips around the sides. Press them gently against the sides.
-
Step 7: Your pan is now ready for batter!
2. Square or Rectangular Cake Pans
Lining square or rectangular pans is similar to round ones but involves some additional steps:
-
Step 1: Start by measuring the bottom of the pan and cutting a piece of parchment paper to fit snugly.
-
Step 2: Cut two strips of parchment paper that are the same length as the length and width of the pan, plus an extra inch on each side for overlap.
-
Step 3: Grease the pan lightly to help hold the bottom piece in place.
-
Step 4: Place the bottom piece in the pan, then lay the strips across the bottom, creating a cross pattern. This will allow for easy lifting of the baked goods later.
-
Step 5: Your square or rectangular pan is now lined and ready!
3. Muffin and Cupcake Pans
Lining muffin and cupcake pans can be done using parchment paper as well:
-
Step 1: Cut squares of parchment paper that are about 4-5 inches wide. The exact size may vary depending on the depth of your muffin cups.
-
Step 2: Gently press each square into the muffin cups, allowing the edges to flare out.
-
Step 3: You can use a small amount of cooking spray to help the parchment stay in place.
-
Step 4: Fill each cup with batter, and the parchment will help prevent sticking.
4. Baking Sheets
Lining baking sheets is perhaps the easiest task:
-
Step 1: Simply cut a piece of parchment paper to fit the size of your baking sheet.
-
Step 2: Place the parchment directly on the baking sheet, ensuring it covers the entire surface.
-
Step 3: If needed, use a bit of cooking spray to hold the parchment in place.
-
Step 4: Your baking sheet is now ready for cookies, vegetables, or whatever you plan to bake!
Tips for Using Parchment Paper
-
Avoid Wax Paper: Do not confuse parchment paper with wax paper. Wax paper is not heat-resistant and can melt in the oven, creating a mess and possibly releasing harmful chemicals.
-
Reuse Parchment Paper: If you’re baking items that do not stick, you can often reuse parchment paper for multiple batches. Just make sure it’s still clean and intact.
-
Storage: Keep your parchment paper in a cool, dry place to maintain its quality.
-
Cutting Shapes: For specialty shapes (like hearts or stars), simply cut the parchment paper into your desired shape before lining the pan.
Conclusion
Lining baking pans with parchment paper is an essential skill for any baker. It not only enhances your baking experience by preventing sticking and making cleanup easier, but it also can improve the overall quality of your baked goods. Whether you’re using round, square, or muffin pans, the techniques outlined in this guide will help you achieve perfect results every time. With a little practice, you’ll become a pro at lining your pans and can focus on what truly matters: creating delicious treats for yourself and others!


Comments
0 comment