
Transforming your space with wallpaper murals doesn’t require professional skills or special tools—just the right guidance. Whether you're aiming for a dramatic cityscape, serene nature scene, or a custom wallpaper mural, this guide will walk you through each step so you can install mural wallpaper confidently and smoothly.
Why Choose Wallpaper Murals?
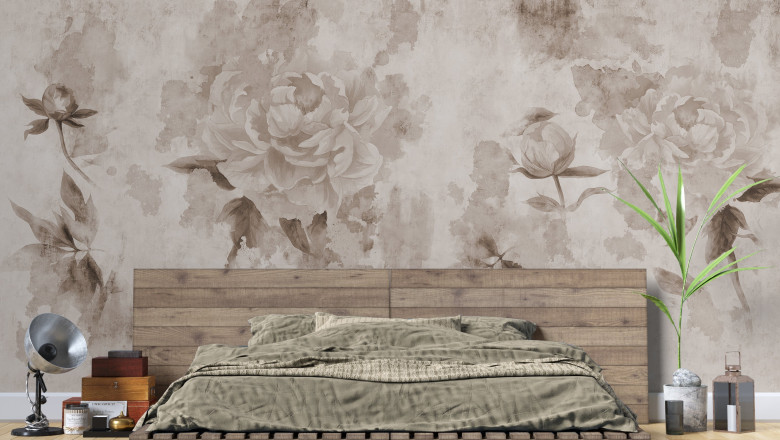
Wall mural wallpaper offers a unique way to personalize any room. Unlike traditional wallpaper, wallpaper murals are printed as large-scale artworks—turning your walls into expressive, immersive canvases. From children’s bedrooms to modern living rooms, wall murals wallpaper deliver maximum style with minimal effort.
Types of mural wallpapers include:
-
Peel and stick wallpaper murals perfect for renters or quick updates
-
Custom wallpaper murals tailor-made to fit your wall and style
-
Traditional paste-the-wall or paste-the-paper murals
Tools You’ll Need
You don’t need fancy equipment to install mural wallpaper. Here’s a simple toolkit:
-
Measuring tape
-
Pencil
-
Spirit level
-
Smoothing tool or plastic card
-
Utility knife or scissors
-
Step ladder
-
Sponge or cloth
-
Mild soap and water (for cleaning the wall)
For peel and stick wallpaper murals, adhesive and paste are not needed.
Step-by-Step Guide to Installing Wallpaper Murals
1. Prepare the Wall Surface
Clean the surface thoroughly. Remove dust, grease, or old wallpaper. Walls should be smooth, dry, and light-colored—especially when installing lighter wallpaper murals.
✅ Pro Tip: For peel and stick wallpaper murals, any bumps or debris will show through—so don’t skip the cleaning!
2. Measure and Mark the Layout
Use a tape measure and pencil to lightly mark where each panel of the mural wallpaper will go. Start from the center or the left edge of the mural, depending on the instructions.
✅ Use a spirit level to ensure straight alignment—especially crucial for panoramic or symmetrical wall mural wallpaper designs.
3. Apply the Mural (Peel & Stick or Paste)
-
For peel and stick murals:
Peel off a few inches of the backing paper and stick the top of the first panel to the wall. Gradually peel and stick as you smooth it down. -
For paste murals:
Apply paste to the wall (or back of the panel, as specified), then position and smooth the panel from top to bottom.
✅ Smooth out air bubbles with a plastic card or smoothing tool.
4. Trim Excess & Align Panels
Once the panel is in place, trim any excess with a utility knife. Apply the next panel, aligning patterns carefully for a seamless look.
Repeat the process for each section of your wall murals wallpaper.
5. Final Touches
Wipe down the mural with a soft, damp cloth to remove residue. Let the wallpaper dry for at least 24 hours.
🛠️ Avoid hanging anything heavy on the wall until it’s fully dry.
Common Mistakes to Avoid
-
Skipping wall prep
-
Not checking alignment between panels
-
Applying too much pressure to peel and stick wallpaper mural (can stretch the material)
-
Cutting corners on measurements
Where to Use Wallpaper Murals
Custom wallpaper murals are perfect for:
-
Living rooms and feature walls
-
Office backdrops
-
Kids' rooms with themed decor
-
Bedrooms for calming nature or galaxy scenes
-
Entryways to make a bold first impression
Final Thoughts
You don’t need a contractor to achieve a professional finish with wallpaper mural installations. By following these steps, anyone—regardless of experience—can achieve stunning results using mural wallpaper.
Whether you opt for a peel and stick wallpaper mural, custom wallpaper murals, or classic murals wallpaper, your walls will thank you.
Ready to Try It?
Explore a range of wall murals wallpaper and discover the design that speaks to your space. With a bit of prep and patience, you’ll have a wall that wows—no pro required.
Related Ideas:


Comments
0 comment